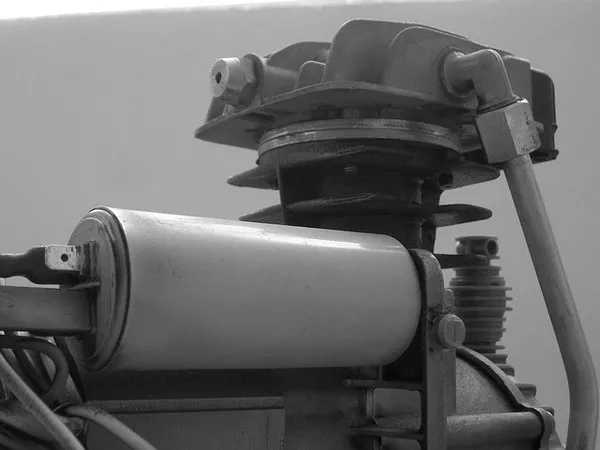
Maintaining a comfortable indoor environment is essential for both residential and commercial spaces, particularly during sweltering summers. The air conditioning system plays a vital role in achieving this comfort, with the compressor serving as its heart. When an AC compressor fails, it can disrupt the entire cooling system, leading to discomfort and potential damage. Therefore, knowing how to replace an AC compressor is a valuable skill for homeowners and technicians alike. In this guide, we’ll delve into the essential steps and requirements for replacing an AC compressor effectively.
Step 1: Diagnosis
Before diving into the replacement process, it’s crucial to diagnose the issue accurately. Symptoms of a failing compressor include reduced cooling efficiency, unusual noises, or complete system failure. Utilizing diagnostic tools such as pressure gauges and thermometers can aid in pinpointing the problem. Additionally, assessing the refrigerant levels and inspecting for leaks is essential, as compressor failure can often result from underlying issues within the system.
Step 2: Obtain the Correct Replacement Compressor
Once the diagnosis confirms compressor failure, the next step is procuring a suitable replacement. It’s imperative to match the new compressor precisely to the specifications of the existing unit. Factors to consider include the refrigerant type, horsepower, voltage, and physical dimensions. Consulting the manufacturer’s specifications or seeking guidance from HVAC professionals ensures compatibility and optimal performance.
Step 3: Gather Necessary Tools and Equipment
Replacing an AC compressor requires specific tools and equipment to ensure a smooth and safe process. Essential items include wrenches, screwdrivers, refrigerant recovery equipment, vacuum pump, manifold gauge set, and safety gear such as gloves and goggles. Having all necessary tools on hand before beginning the replacement minimizes delays and enhances efficiency.
Step 4: Turn Off Power and Discharge Refrigerant
Before initiating any work on the AC system, it’s essential to turn off the power supply to prevent electrical hazards. Next, the refrigerant must be safely discharged from the system using appropriate recovery equipment. Improper handling of refrigerant can pose environmental risks and may also violate regulations. Following industry best practices for refrigerant recovery ensures compliance and environmental responsibility.
Step 5: Remove Old Compressor
With the power off and refrigerant discharged, the old compressor can be removed from the system. This typically involves disconnecting refrigerant lines, electrical connections, and mounting bolts. Care must be taken to avoid damaging other system components during removal. Additionally, inspecting adjacent components for signs of wear or damage is advisable, as addressing these issues preemptively can prevent future problems.
Step 6: Prepare New Compressor
Before installing the new compressor, it’s essential to prepare it for integration into the system. This includes transferring any necessary fittings, adapters, or brackets from the old compressor to the new one. Additionally, lubricating O-rings and seals with refrigerant oil ensures proper sealing and prevents leaks. Thoroughly cleaning the compressor’s mounting surface and surrounding area also promotes optimal performance and longevity.
Step 7: Install New Compressor
With the new compressor prepared, it can now be installed in place of the old one. Carefully aligning the compressor and securing it with mounting bolts is critical to ensure stability and proper operation. Reconnecting refrigerant lines and electrical connections should be done meticulously, adhering to manufacturer specifications and industry standards. Utilizing torque wrenches ensures proper tightening of connections, preventing leaks and ensuring system integrity.
Step 8: Evacuate and Charge the System
Once the new compressor is installed, the AC system must be evacuated of air and moisture using a vacuum pump. This process removes contaminants and ensures optimal performance and longevity of the system. After evacuation, the system can be charged with the appropriate refrigerant according to manufacturer specifications. Achieving the correct refrigerant charge is essential for efficient operation and preventing compressor damage.
Step 9: Test and Verify
After completing the replacement process, thorough testing and verification are necessary to confirm proper functionality. This includes checking for refrigerant leaks using leak detection tools and verifying system pressures and temperatures with manifold gauges. Additionally, ensuring proper airflow and cooling performance throughout the space validates the success of the compressor replacement. Any abnormalities or issues should be addressed promptly to prevent further damage or discomfort.
See Also Choosing the Best Compressor for Air Tools: A Complete Guide
Conclusion
Replacing an AC compressor is a complex task that requires careful planning, precision, and adherence to safety protocols. By following the essential steps outlined in this guide and utilizing the necessary tools and equipment, homeowners and technicians can effectively restore cooling functionality to their spaces. Regular maintenance and prompt attention to compressor issues can prolong the life of the AC system and ensure uninterrupted comfort during hot summer months.

