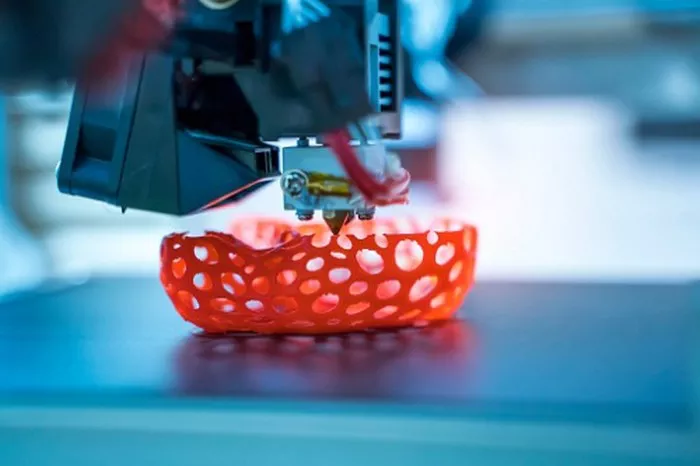
As additive manufacturing (AM) continues to reshape industries from aerospace to healthcare, one challenge remains largely in the shadows: metrology. The ability to precisely measure and inspect 3D-printed parts is proving far more complex than traditional manufacturing methods.
While AM enables intricate geometries and internal structures once thought impossible, these very features make quality assurance a major hurdle. Traditional metrology tools—like tactile probes or optical scanners—struggle to access or interpret complex internal features such as cooling channels or lattice infills. Even cutting-edge optical systems face difficulties with reflective surfaces and rough textures common in AM parts.
Industrial CT Scanning and the Limits of Inspection
To address internal complexity, many manufacturers rely on industrial computed tomography (CT) scanning. It provides a full 3D view of both surface and interior features. However, CT remains slow, expensive, and limited by part size and density.
Surface Irregularities and Material Variability
AM’s rough surface finishes further hinder accurate measurement. Advanced filtering algorithms and hybrid systems combining touch and optical methods are being developed to overcome this. Material inconsistencies—such as porosity or uneven densities—pose another risk, potentially affecting mechanical strength. Complementary techniques like ultrasonic testing and real-time, in-situ monitoring are being explored.
The Race for Speed and Standards
In high-volume production, metrology can be a bottleneck. Long scan times and manual inspection processes slow throughput. Automation, robotics, and AI-driven defect recognition are helping accelerate inspections, while in-line systems promise real-time feedback.
Yet the lack of standardized practices remains a barrier. Global bodies like ASTM and ISO are developing protocols to define tolerances and quality benchmarks specific to AM.
A Digital Thread Future
Experts argue the solution lies in fully integrating the digital thread—from CAD to print to inspection. With AI and machine learning, manufacturers could automatically detect flaws, compare results to digital twins, and even correct issues mid-build.
Conclusion
Additive manufacturing’s future depends not only on what can be printed—but on how well it can be measured. As the technology matures, metrology is evolving from an afterthought to a critical enabler of industrial 3D printing.
Related topics:

